

One of the easiest and most effective restoration projects in high ceilinged rooms is to reinstate the picture rail.
 Picture rail serves two purposes in high ceilinged rooms. Firstly, it provides an elegant if slightly fussy way of hanging pictures without drilling holes into plasterwork.
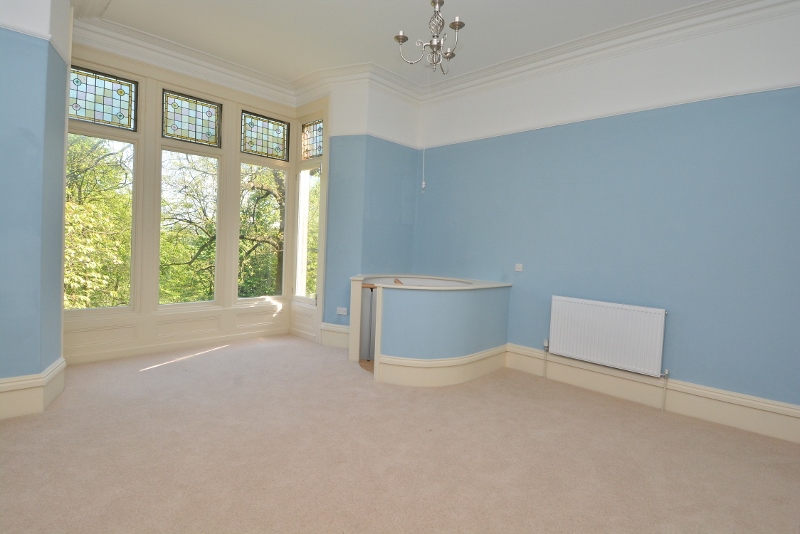
Secondly, it gives decorators a cut off line between the colour on the lower wall and that on the frieze. This can allow for a second or, if there is also a dado rail, third wall colour.
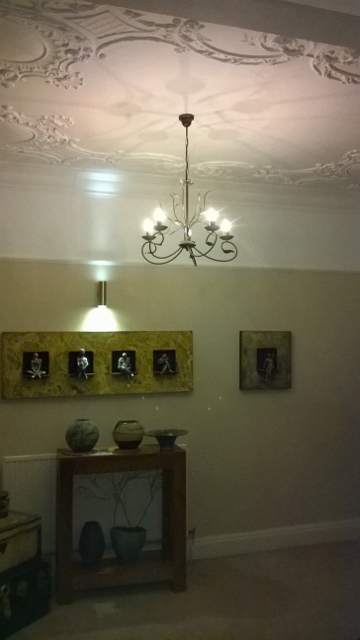
Personally I always paint the frieze in white so it becomes an extension of the cornice and ceiling. That way you get lots of light-reflective white at the top of the room thus allowing for more adventurous darker colours on the lower wall.
This white band works particularly well when lighting is directed upwards as with chandeliers or up/down wall lights.
 In a rooms just over ten ft high (3050mm) the rail is fixed at about eight foot (2400mm) from floor level.
Picture rails have often been removed from period rooms though, unlike fibrousornamental plasterwork, reinstating wooden picture rail is relatively straightforward.
If you have enough of the original this can be repaired, prepped and reused. Remember to wear a mask when sanding old gloss work as it may contains lead.
If large sections have been removed or are beyond repair it is easiest to remove the old and buy new picture rail. A variety of profiles are readily available from many builder’s merchants.
Fitting
Laser levels come into their own when fitting picture rails. Hours are saved by the press of a button sending a perfect datum line around the contours of a room. Mount the level on a ladder to get it at the desired height.
Before mounting the rail just check that the ceiling above is fairly level. If it is not, you may want to adjust the line of the picture rail so as not to exacerbate the drunkenness of the ceiling.
Also don’t make the common mistake of fixing picture rail too high so it looks out of proportion with the room. In the photos here the rooms are just over ten foot high (3050mm) and I fitted the rail at about eight foot (2400mm) from floor level.
I use grab adhesive to stick picture rail to the wall and PVA on joints. If the render on walls is soft, or if the walls are lath and plaster the sections can be pinned into place while the glue sets. If you cannot secure the picture rail this way just screw and rawl plug every meter or so.
Painting
Once up I prime the picture rail and then just paint it in with the same white emulsion as used on the frieze and ceiling. A more traditional approach is to gloss it in using the same off-white as is used for the skirtings and other woodwork.
Share this post


